Lessons of aerography.
About the design of the project on the car...
Complete course for beginners. Part two....

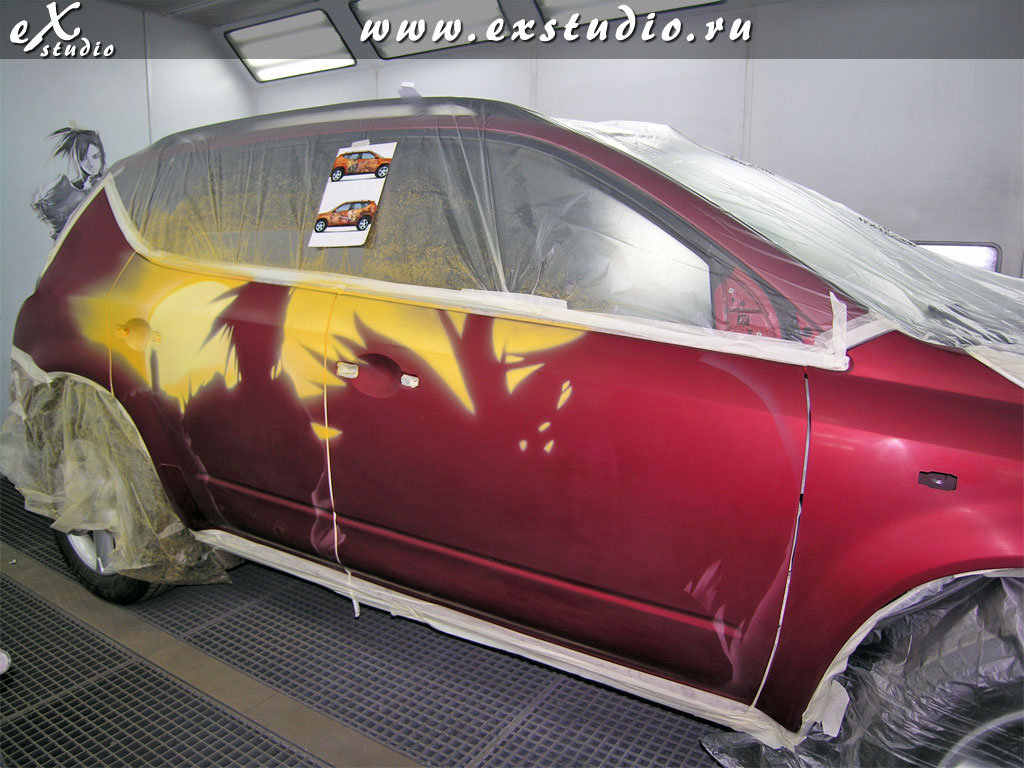
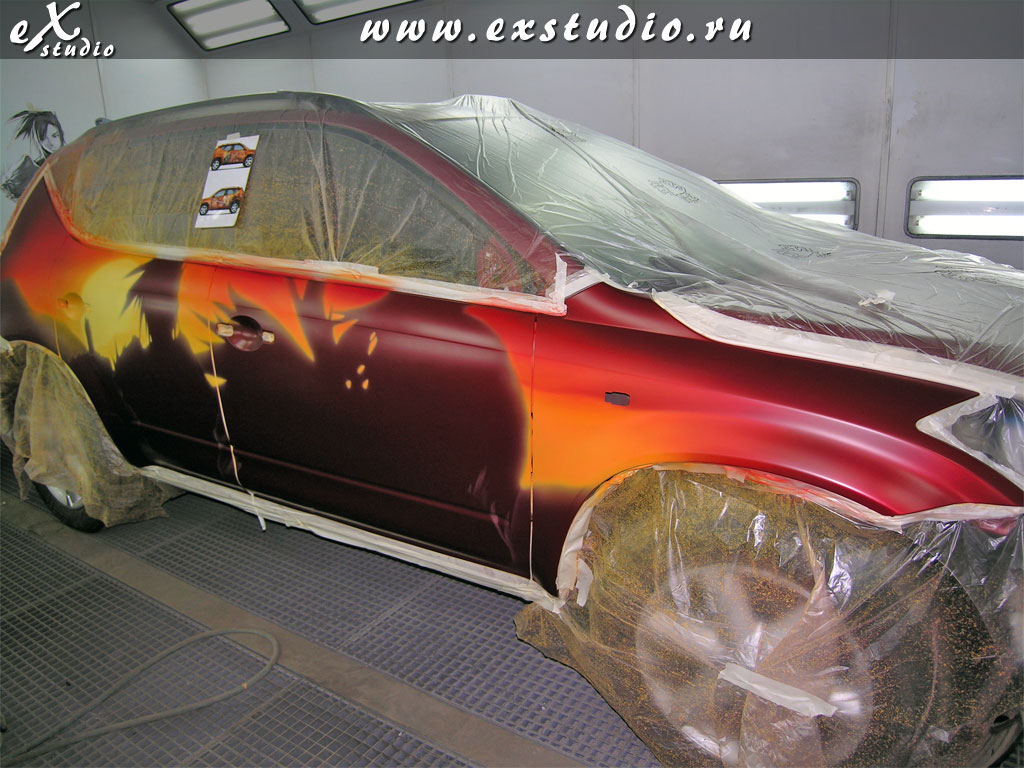
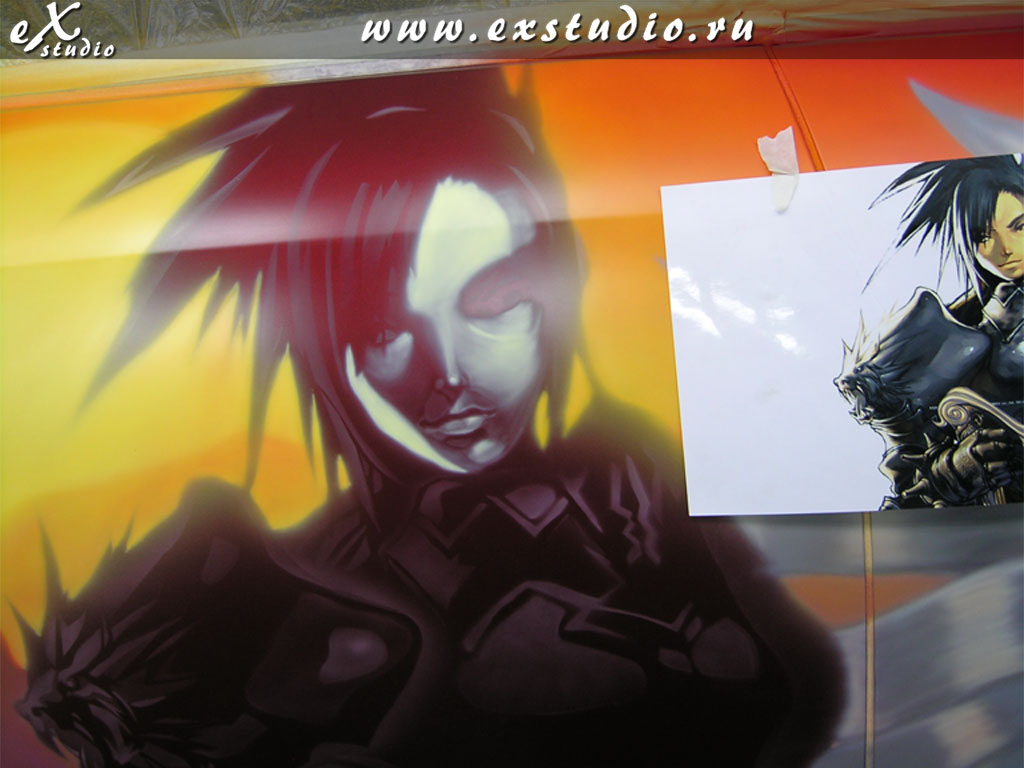
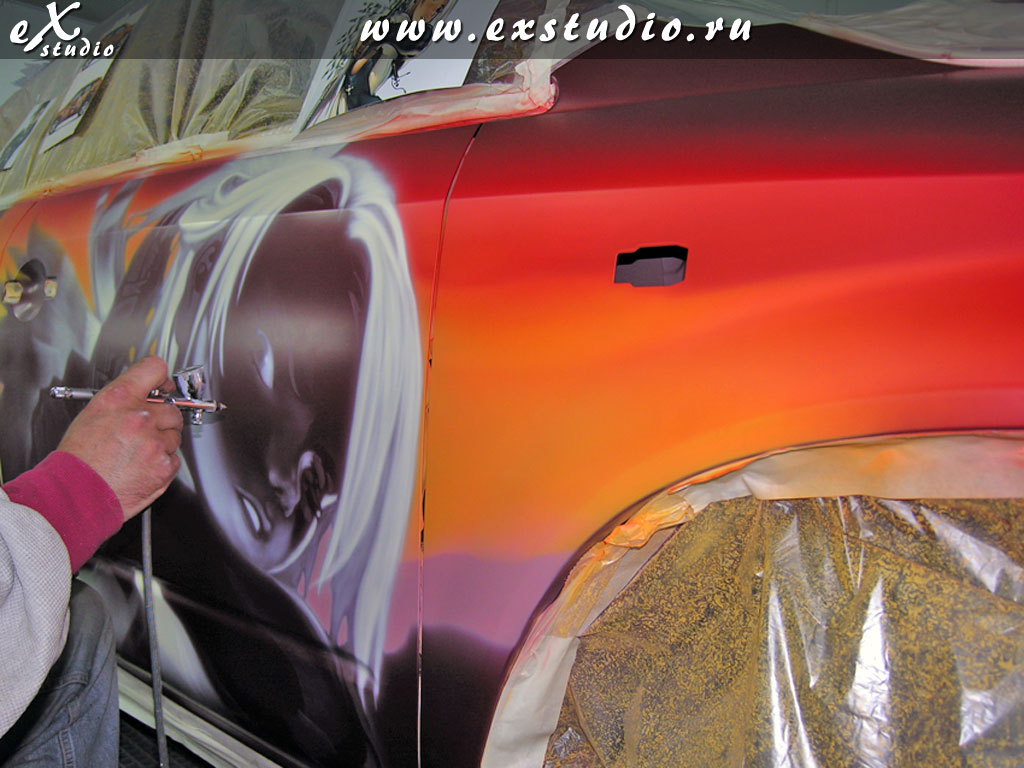
20. Further, we draw the background by free hand, i.e. without any stencils or other auxiliary accessories.
For a little help, always start the drawing with the lightest color of a background, and gradually move to colors that are darker. The very first and lightest color we apply to the base is white; it should be thick enough to completely paint over the original color of the car. We apply the paint densely and evenly. And the closer we get to a transition to the native color of the car (the back and forward wing), we do smooth transition of the background with the native color of the car. We aim to completely paint over the native color of the car where it is necessary!
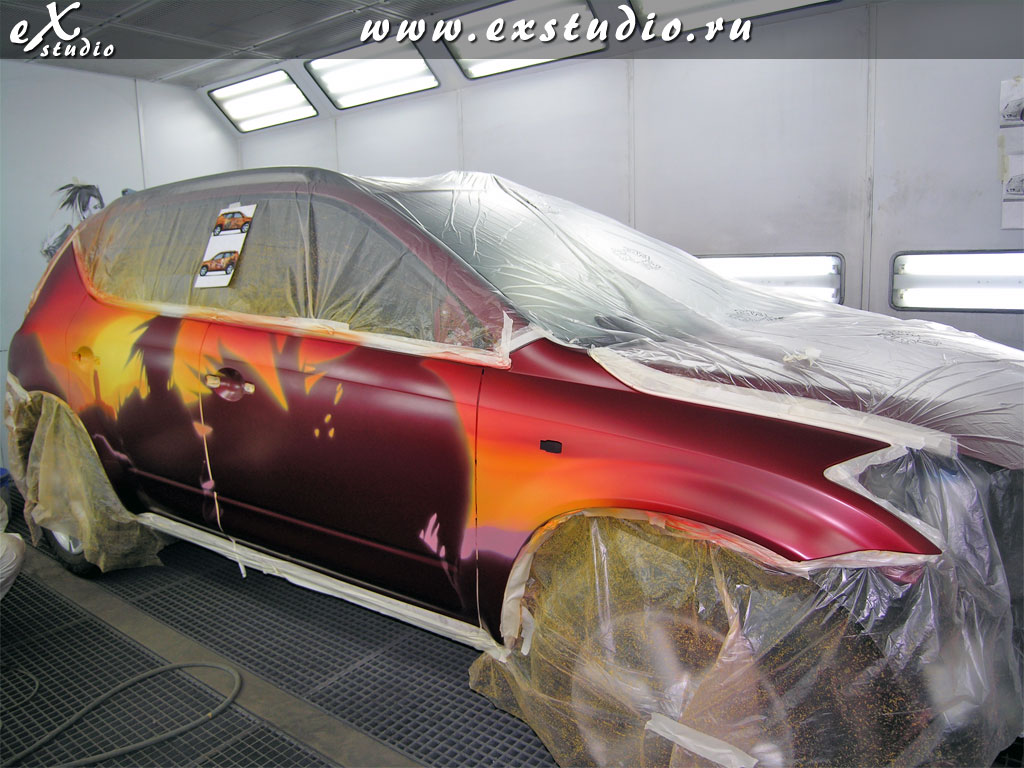
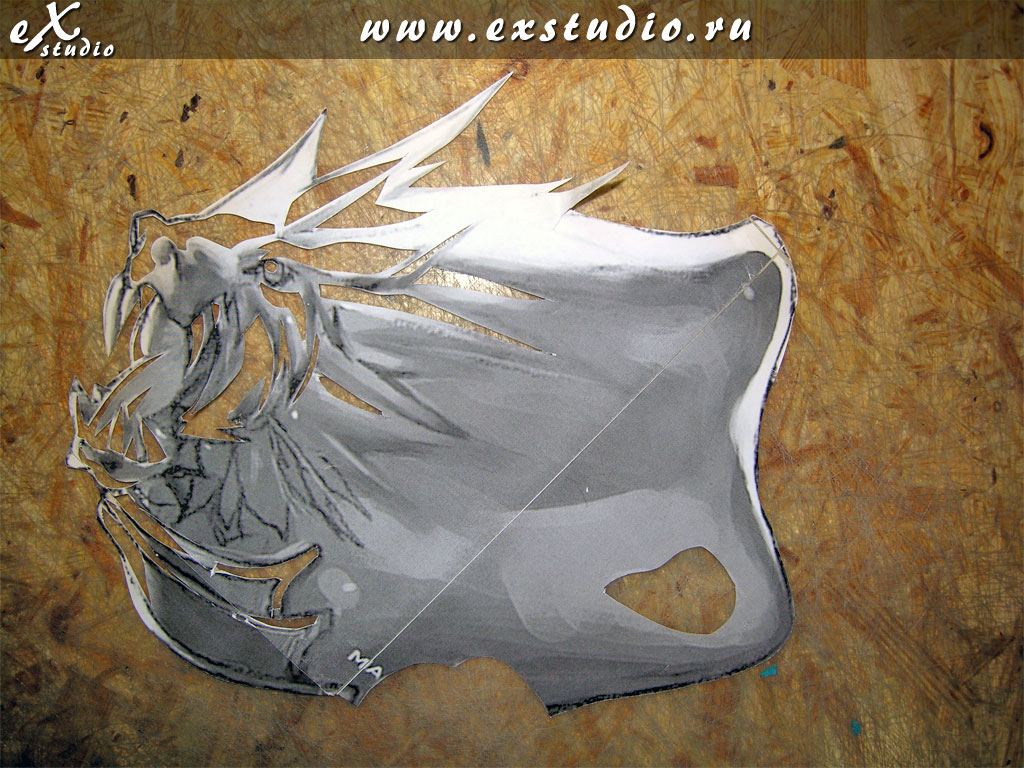
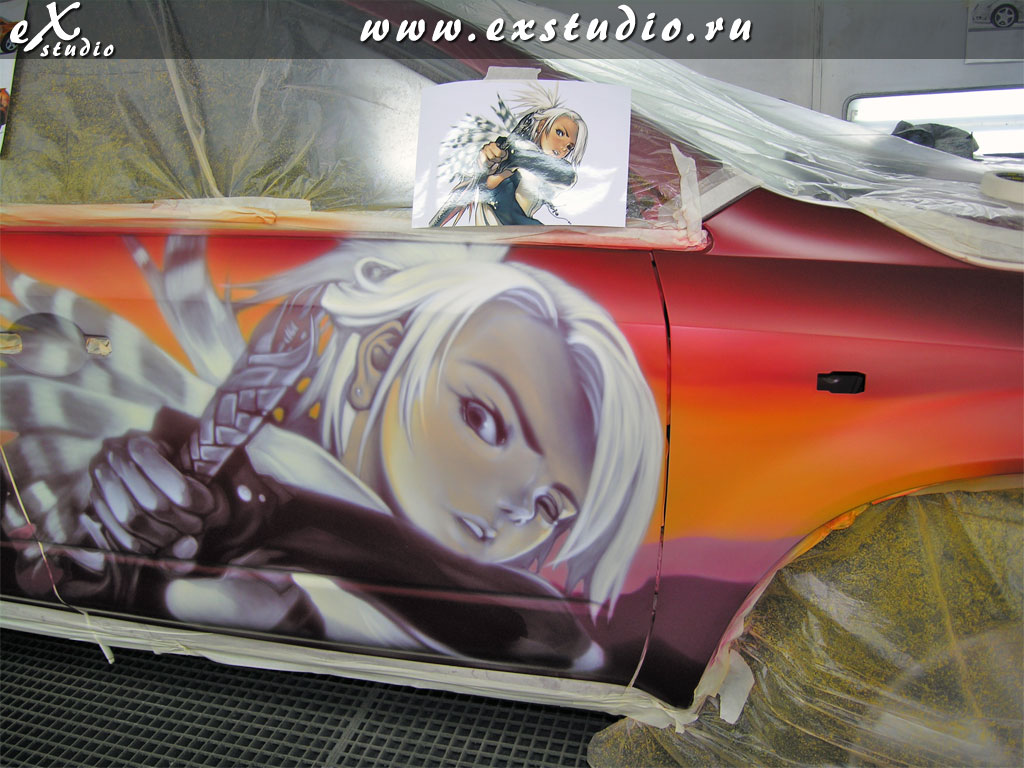
21. ТNow we can start to work directly with the main figures. We take a stencil and define the lightest places in the drawing, and cut them out accurately. Why is this necessary? It is simple enough. As we have a dark car, it is necessary for us to transfer only the lighter parts of the figure and use semitone, where the shades remain with native color of the car.
22. We choose in our stencil the lightest tone, cut out, and paint. We repeat this operation several times, each time cutting out the darker semitones from the previous cut. If you very strongly want to try, it is possible to transfer the complete drawing using a stencil, and in an ideal case from the stencil nothing should remain. Try to thoughtfully and carefully consider each one of your steps. Correctly transferred stencils will save to you a lot of time and energy in future works.
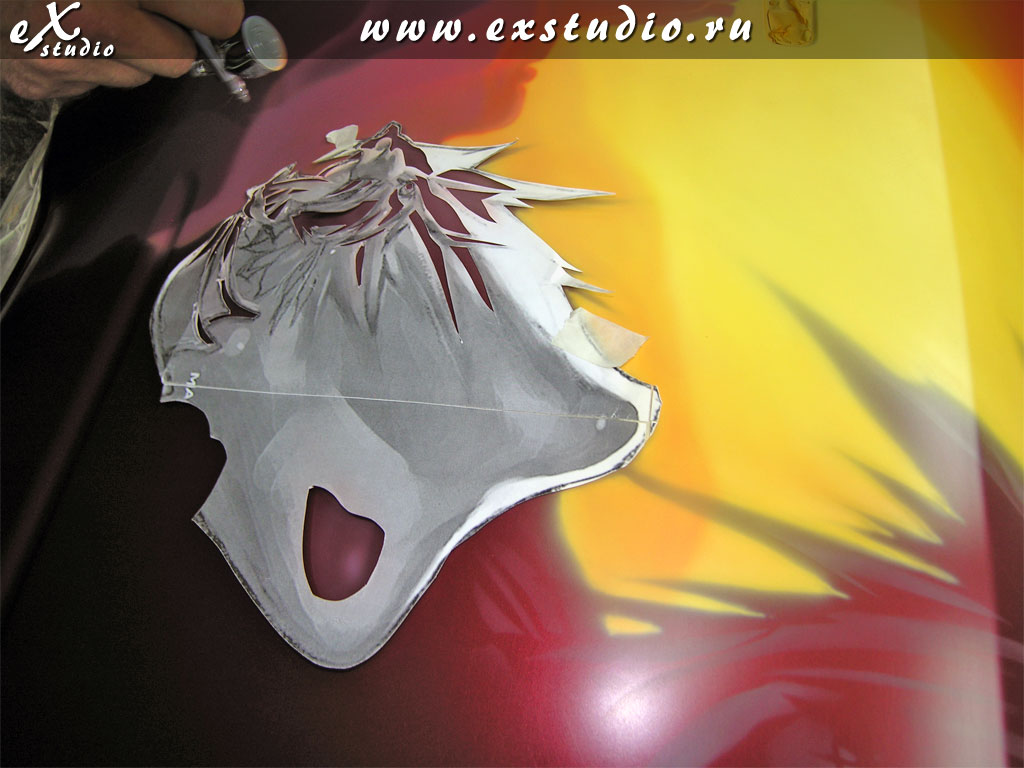
23. In the example it is visible that after having finished with one stencil, we continue to transfer the other parts of drawing.
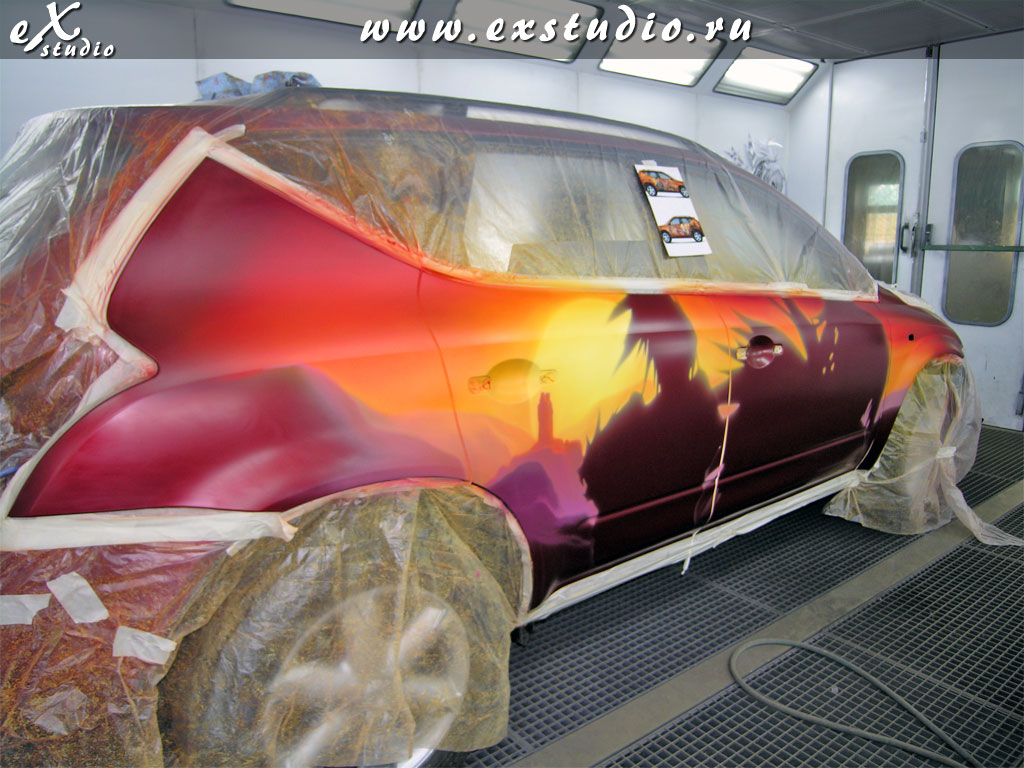
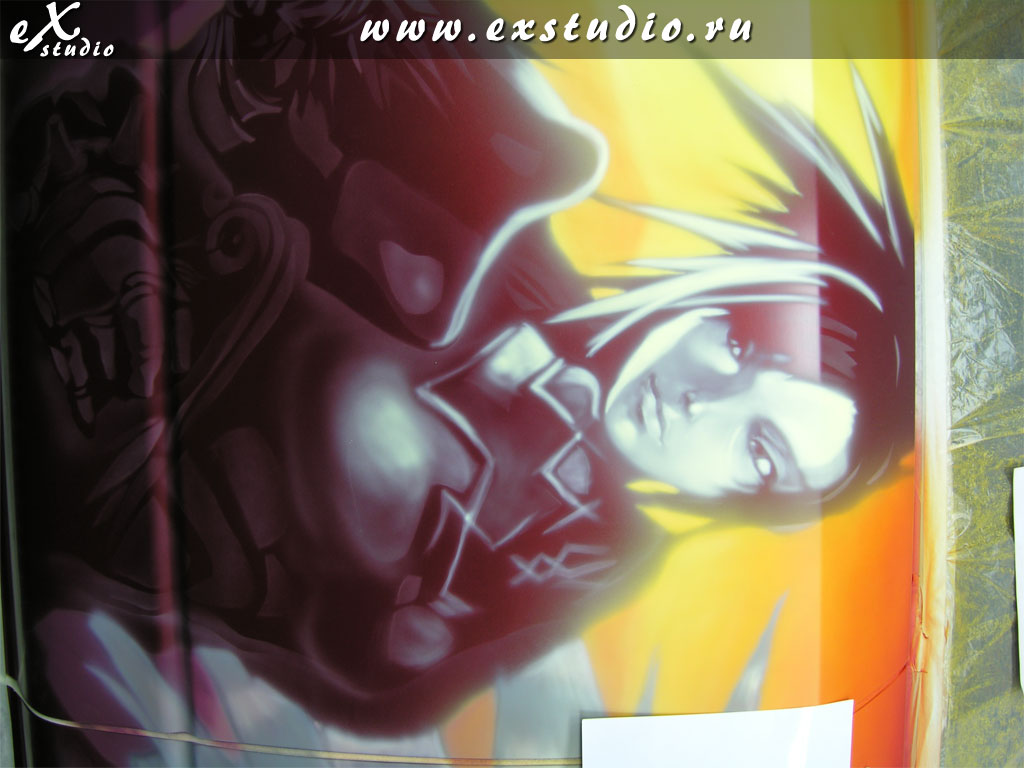
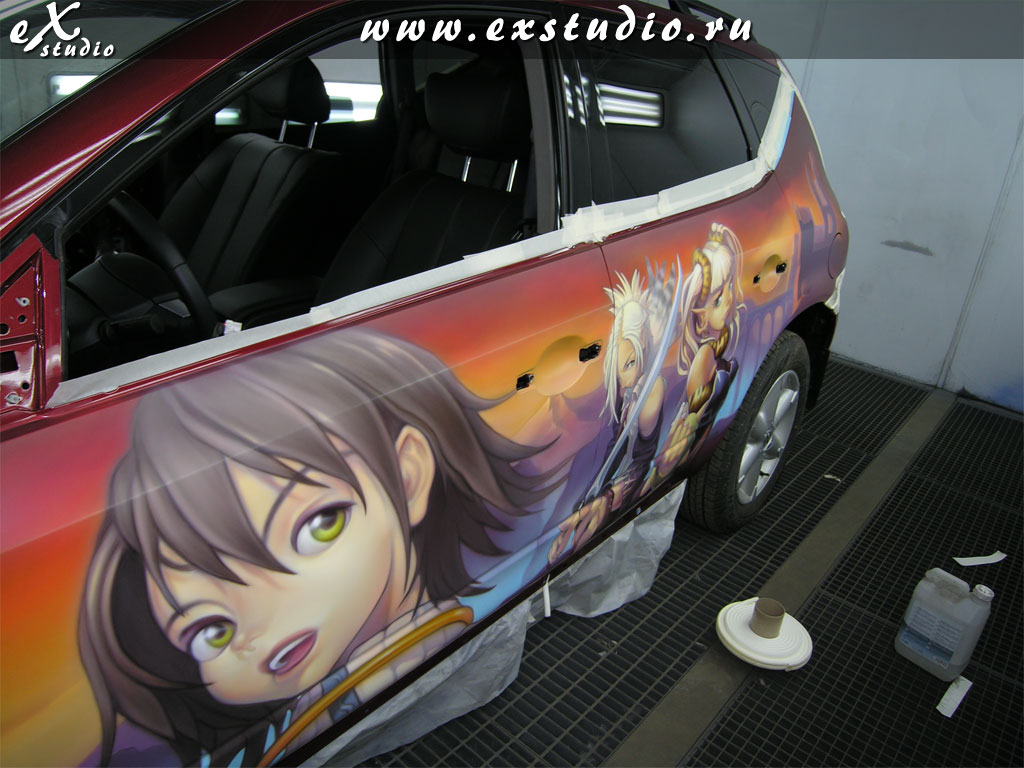
24. When the stencil drawing is completely transferred onto the surface, we start to build the so-called "under paintings". With a light tinted paint we add to the drawing and we create a light sub layer to the basic drawing. This operation is necessary so that the future colors are luscious and full. For painting in deep shades where the native color of the car is used, we use only a light paint for the bright elements of the drawing.
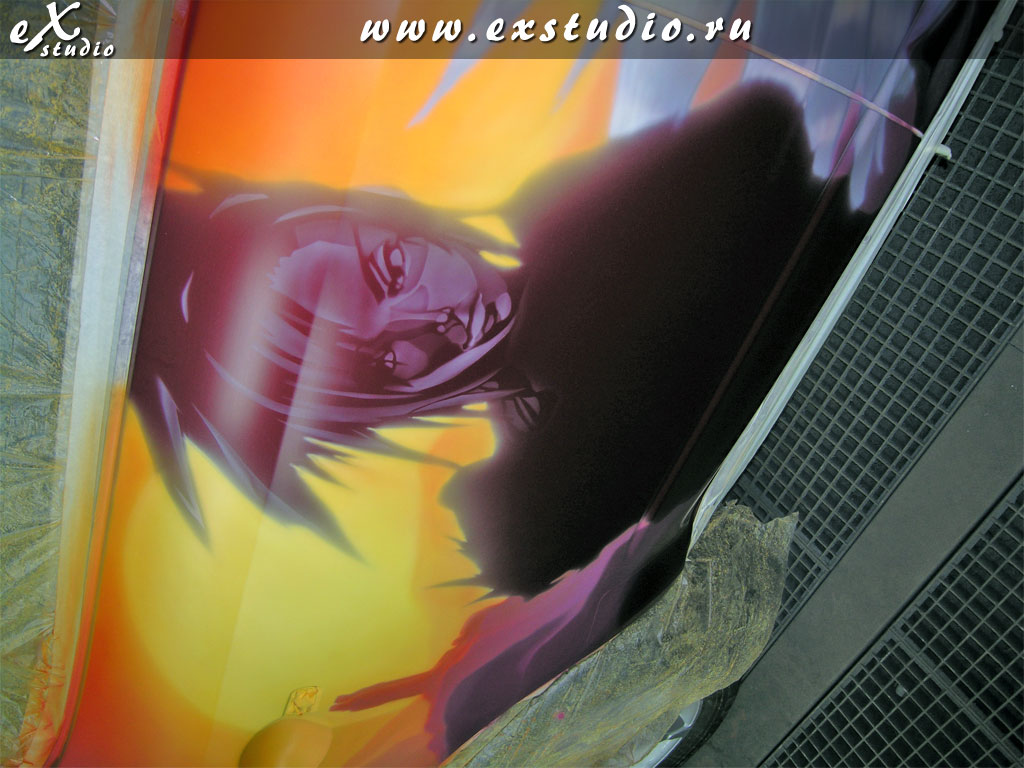
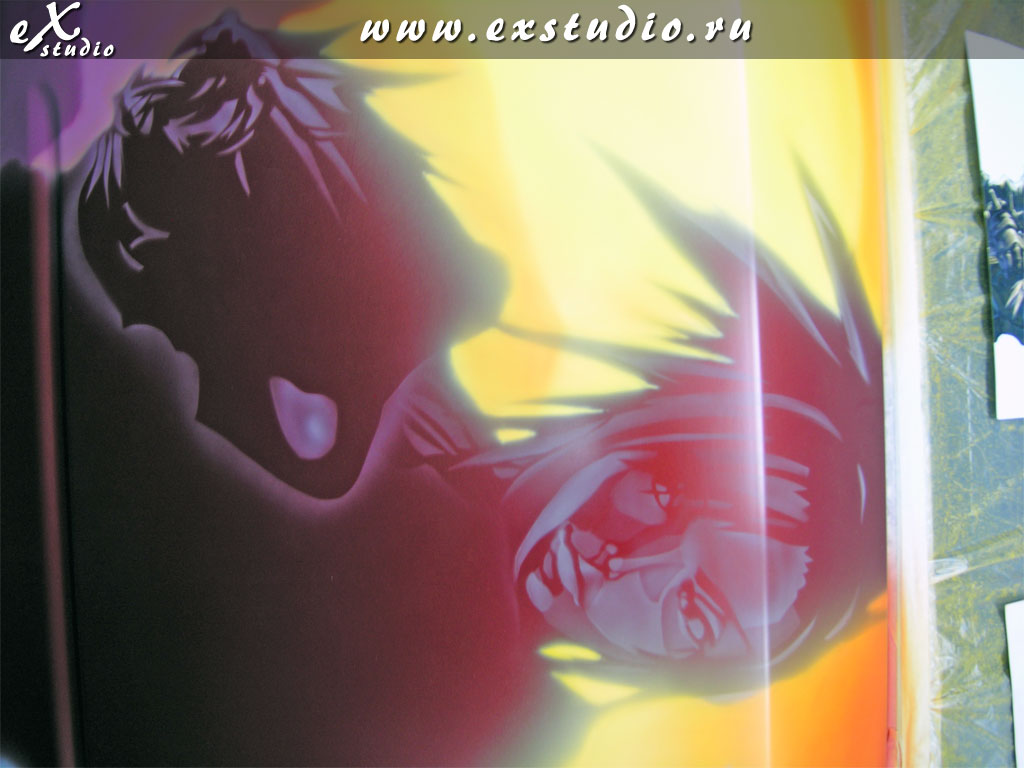
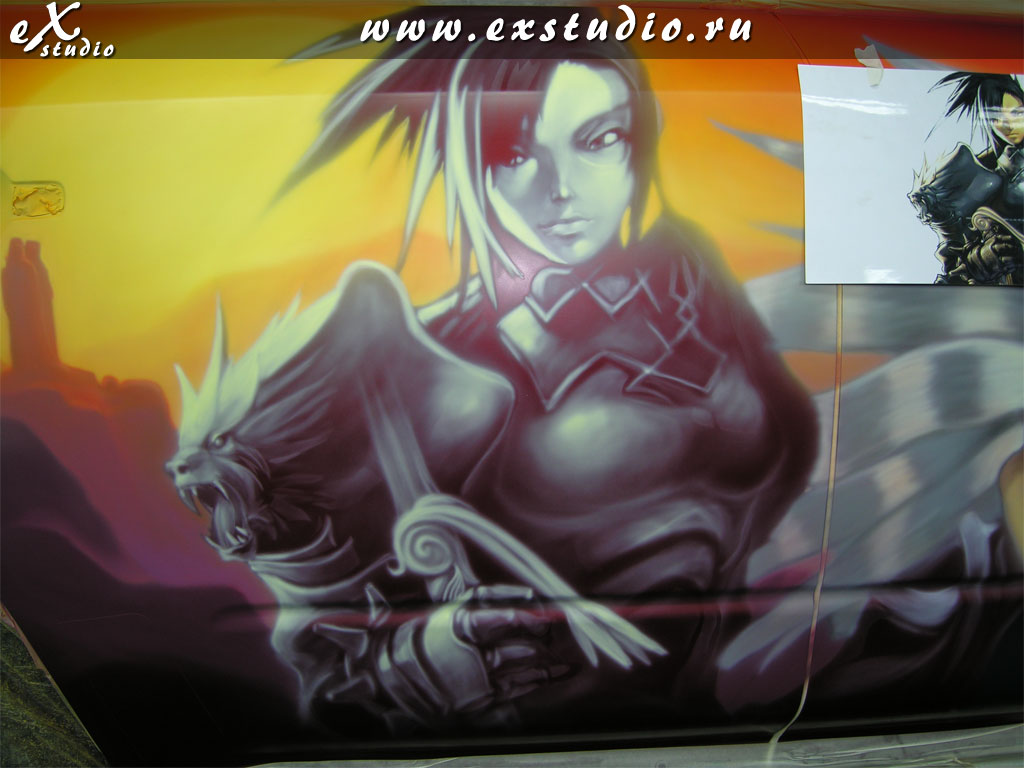
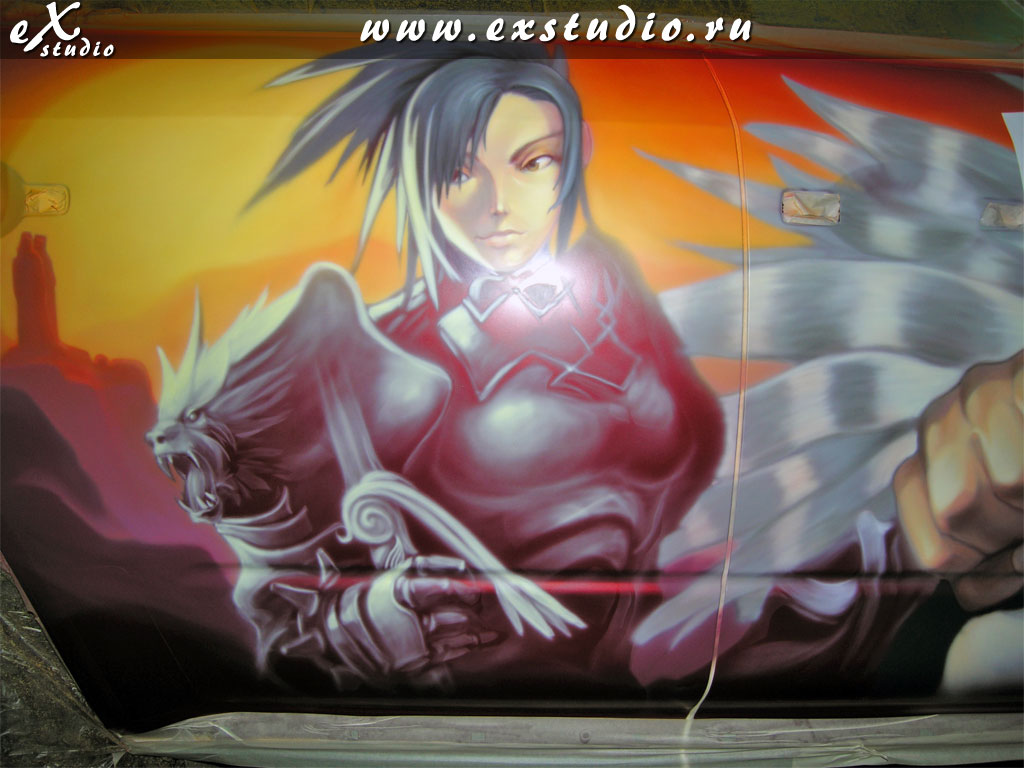
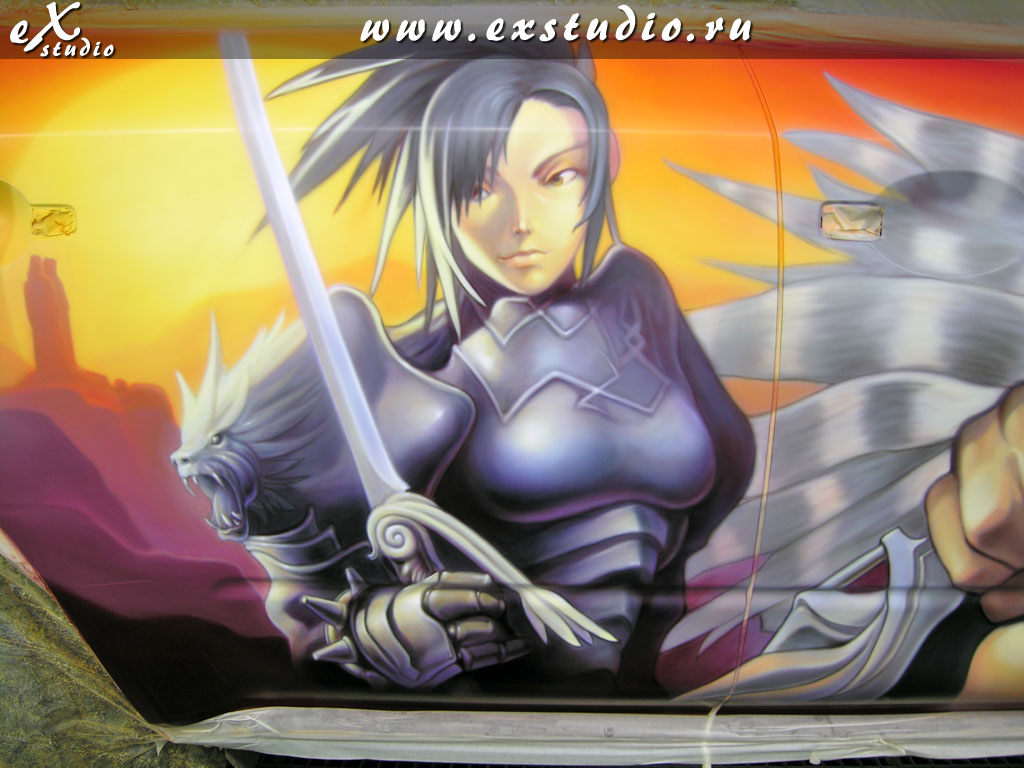
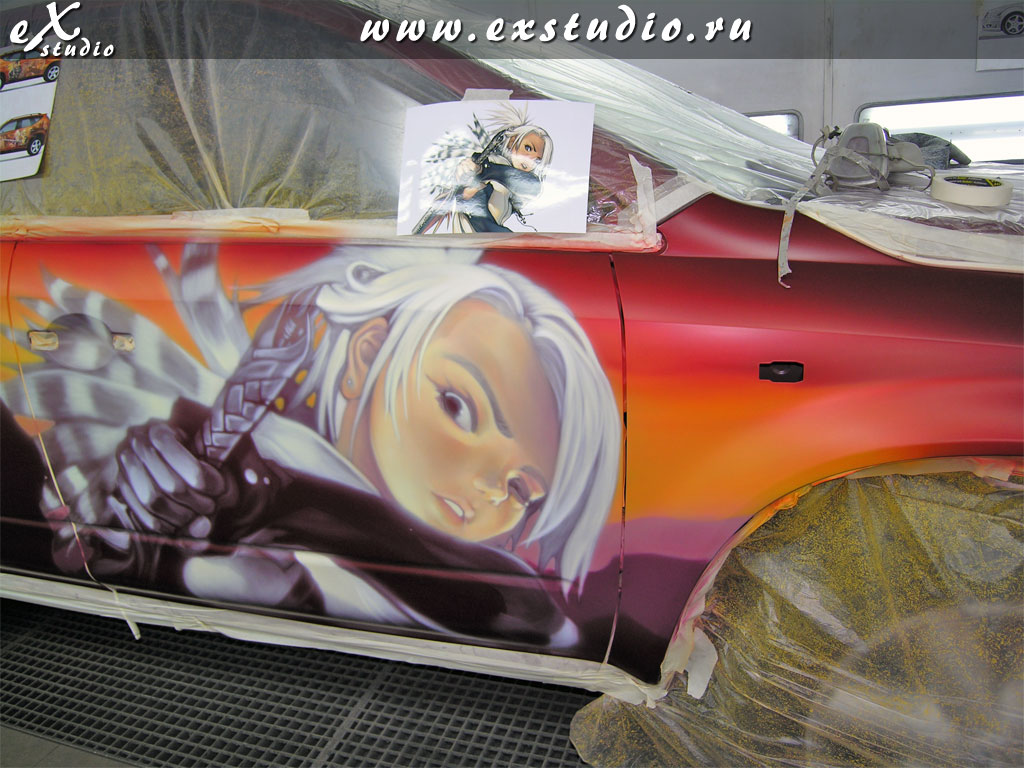
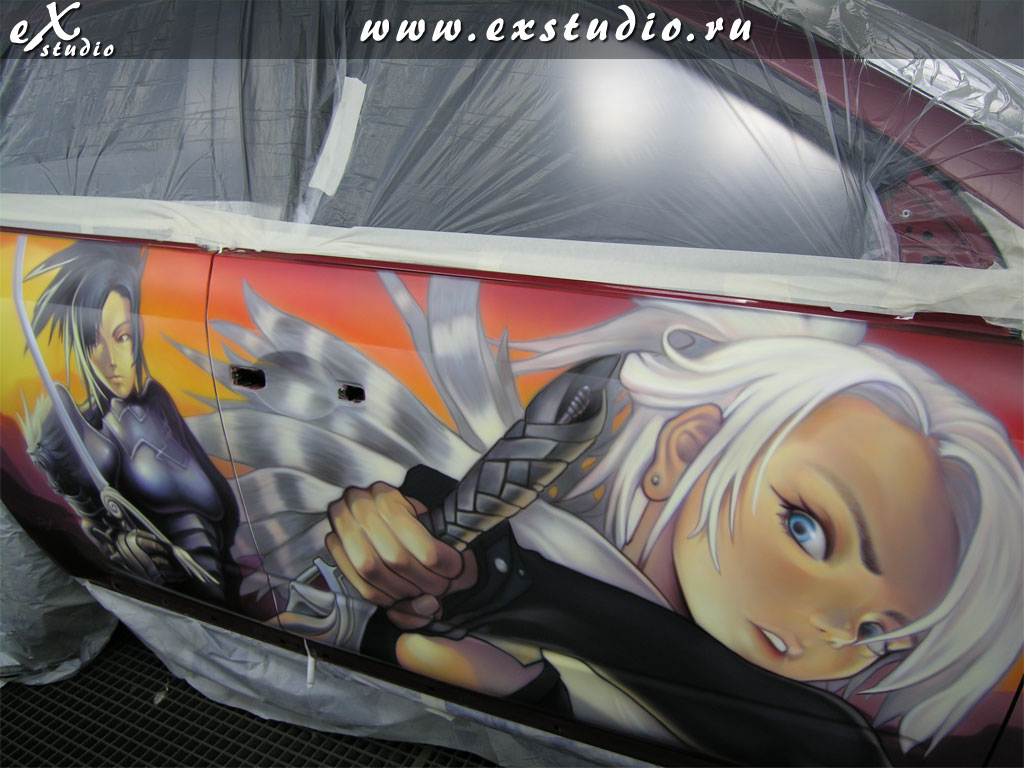
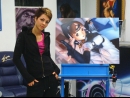
25. Again with our free hand we start to decorate our sub layer, adding with each step more and more colors. The major principle still remains - from a light shade to a darker shade.
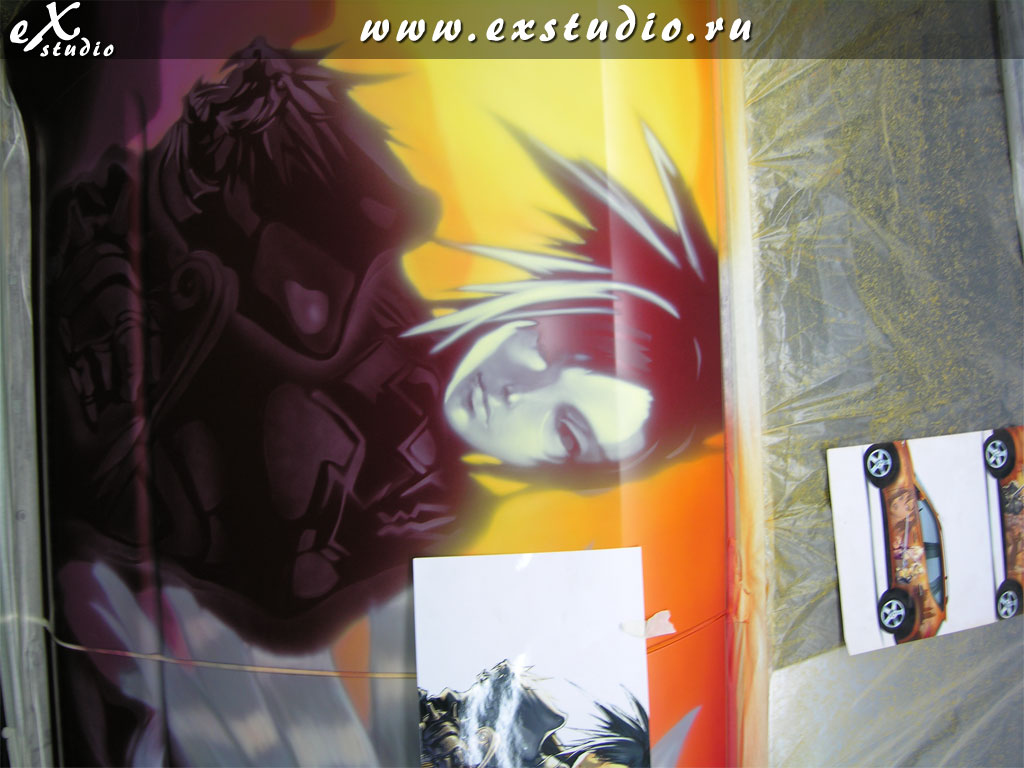
So our work with the girl, perhaps, is finished!
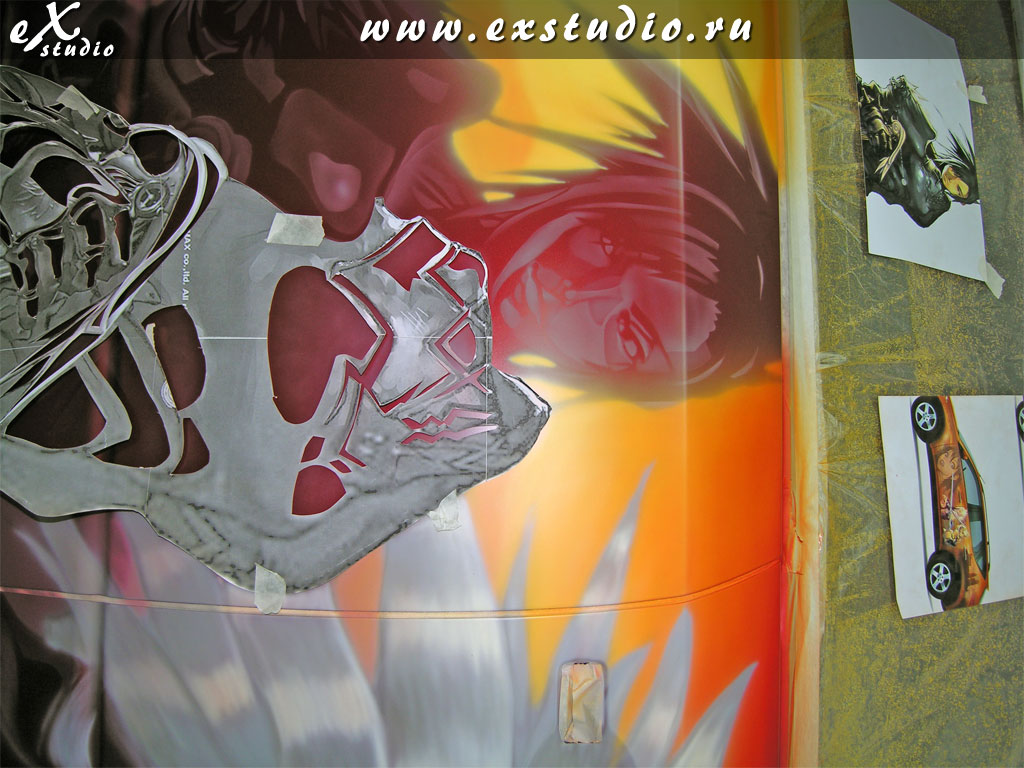
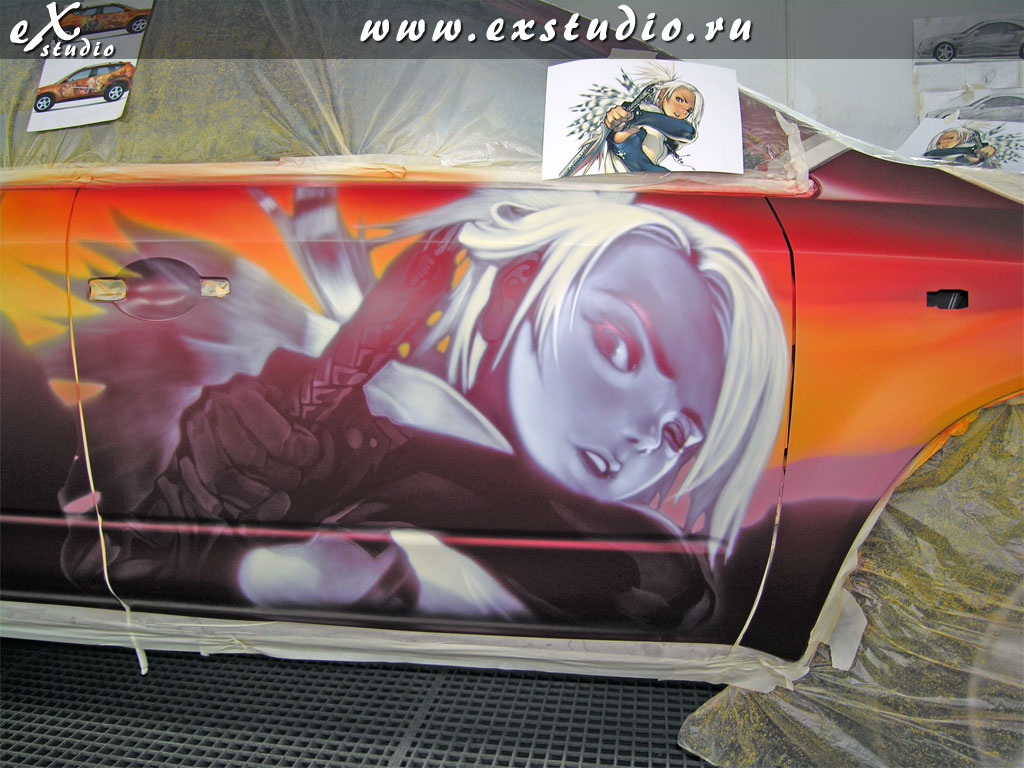
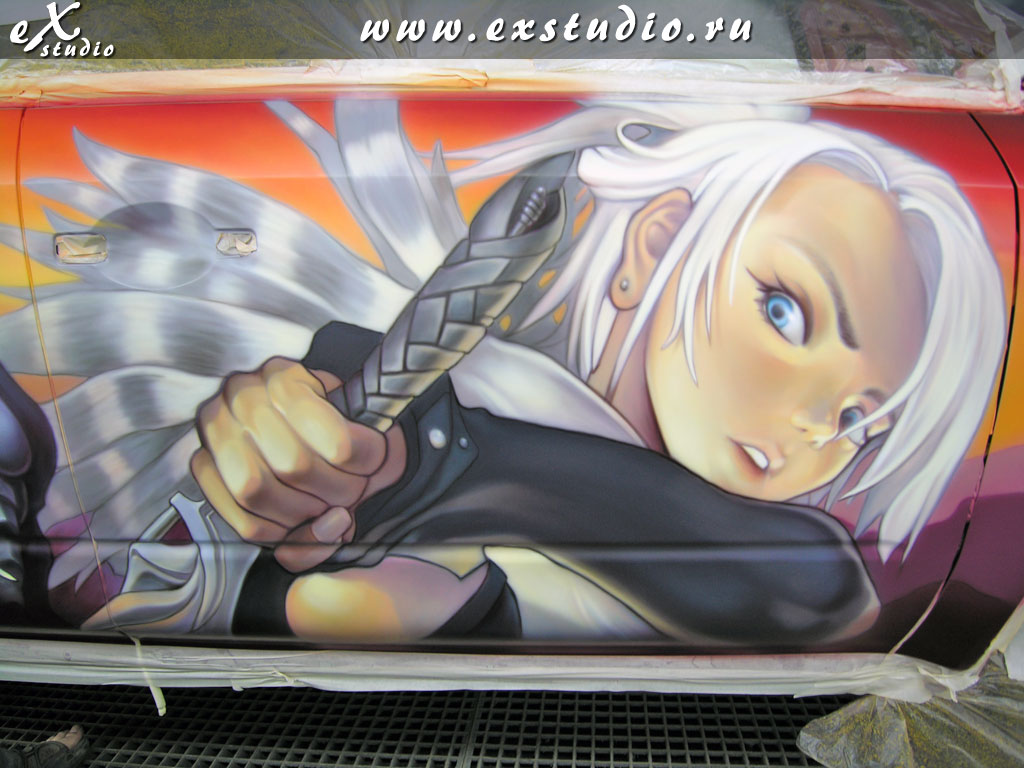
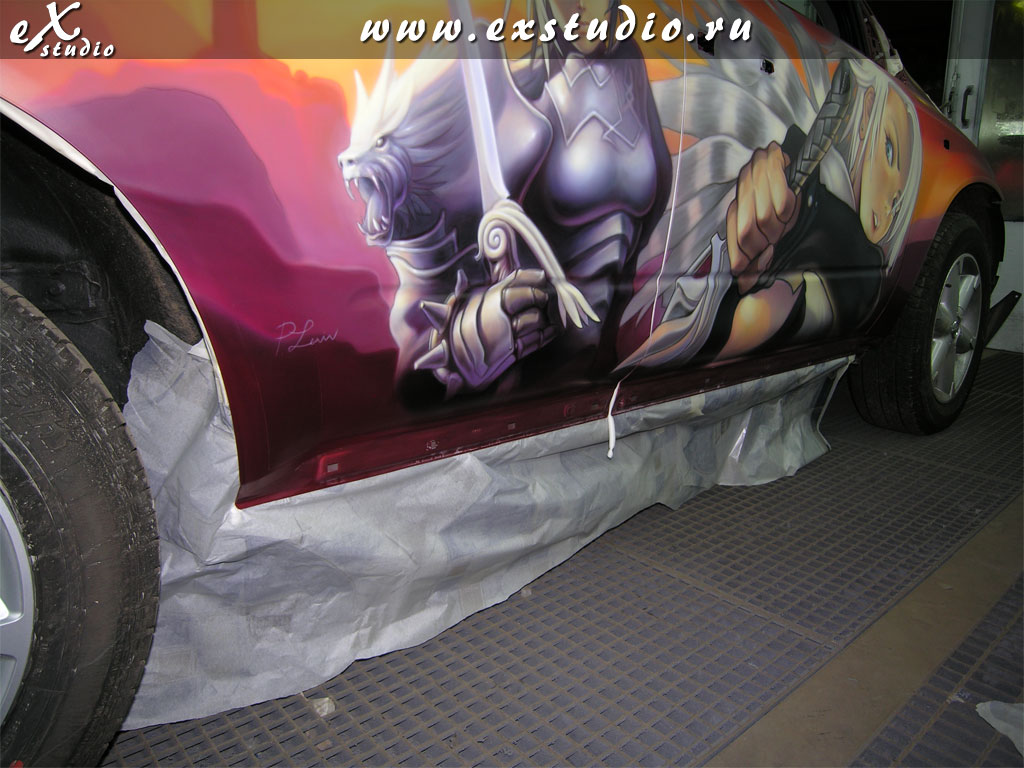
26. We take the same actions with the second character!
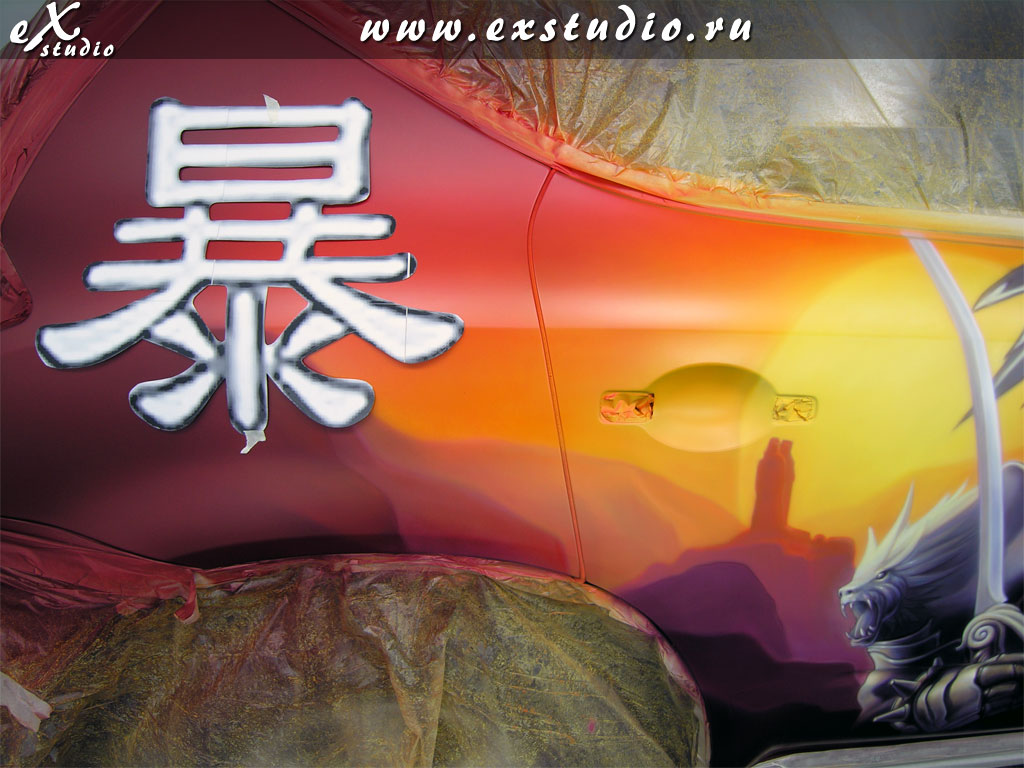
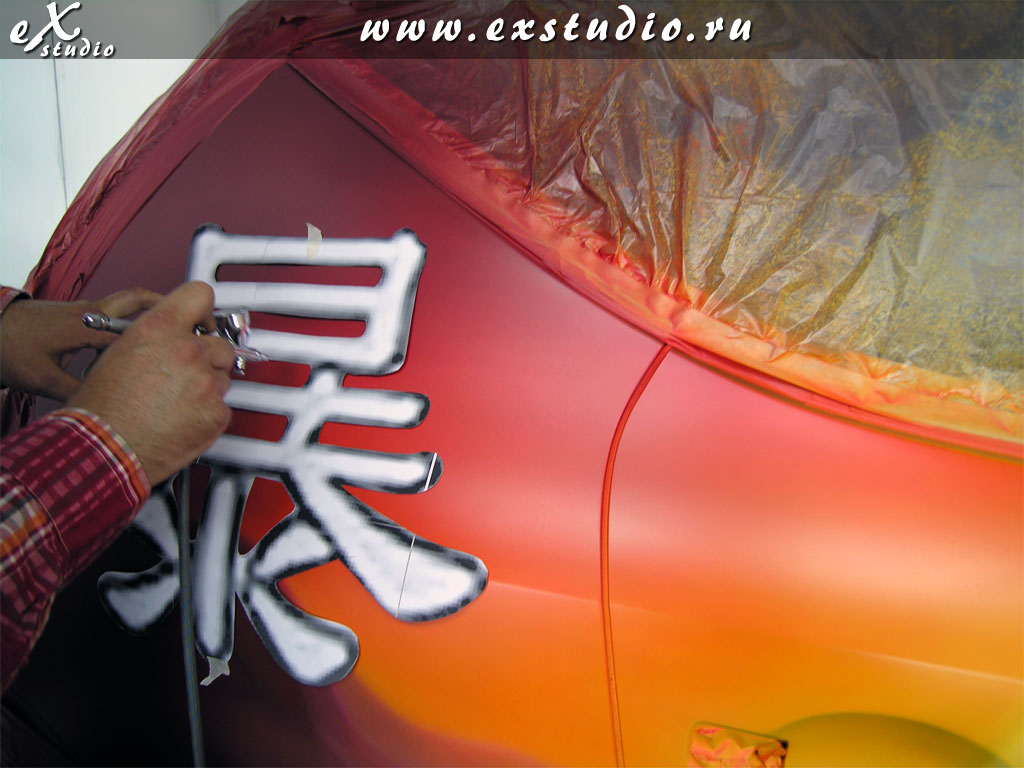
27. When work on the main characters is finished there is one more detail we need to add, "Hieroglyphs" which we will place on the back wing of the car. We print out a stencil in Corel Draw, and we cut it out and place it on the car.
28. We paint in our stencil by using liquid white paint. It is necessary to blow very gently, i.e. drawing the outlines should be hardly visible. Otherwise the edge from the stencil will be visible which is very difficult for trying to remove. In other words, it is necessary to paint the stencils so that it is only visible to you, if you use a lighter coat of paint, then it will be easier to take off if you need to.
29. An example of this picture is on the right.
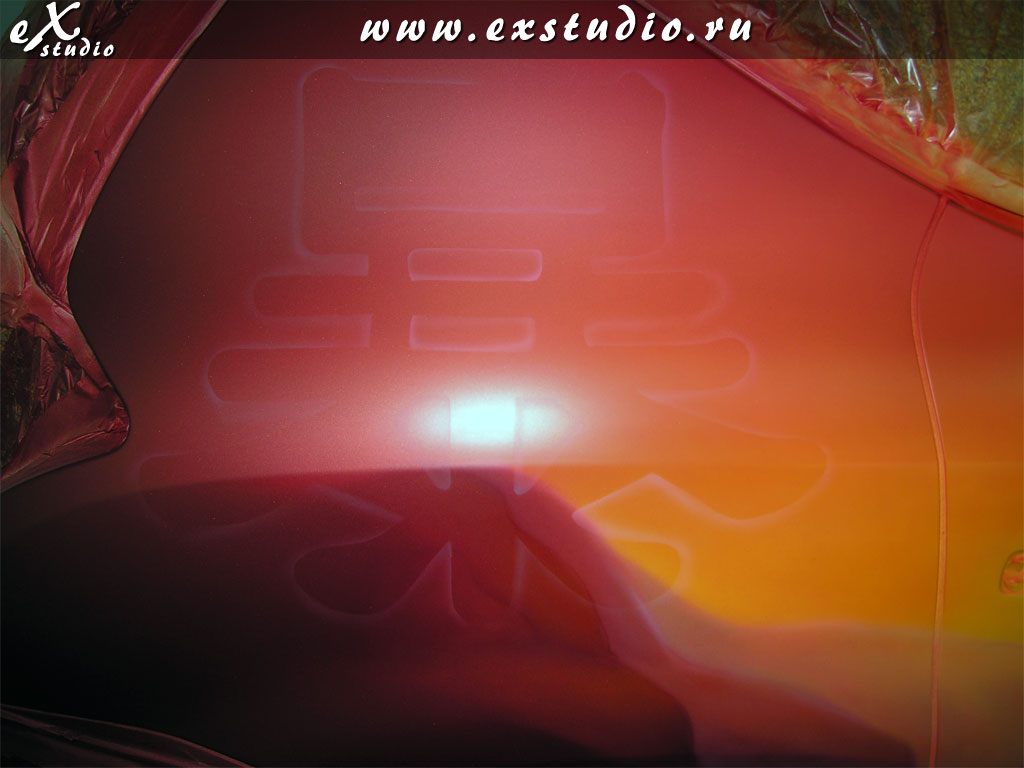
30. Also by using free hand, using a white paint, we go around the outline of our stencil and we give thickness to the hieroglyph. Thereby, we have made a white sub layer under the hieroglyph.
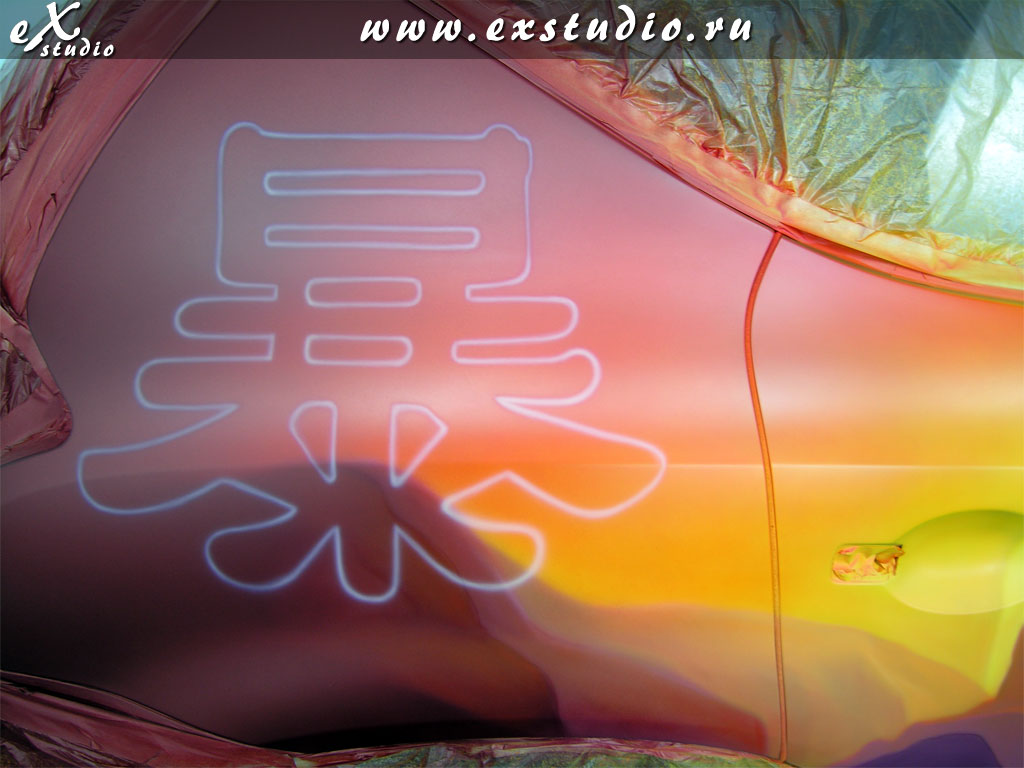
31. Pure" colors will be necessary for the following operation: red, yellow, and orange. We dilute the paint, approximately 90% of solvent and 10% of the paint and our hieroglyph is simply painted on. For this purpose we drew our hieroglyph on using a white paint. For us to stir the paint in a "tin" and paint the hieroglyph is obviously not possible. But having a white sub layer and pure colors, we can easily decorate our hieroglyph.
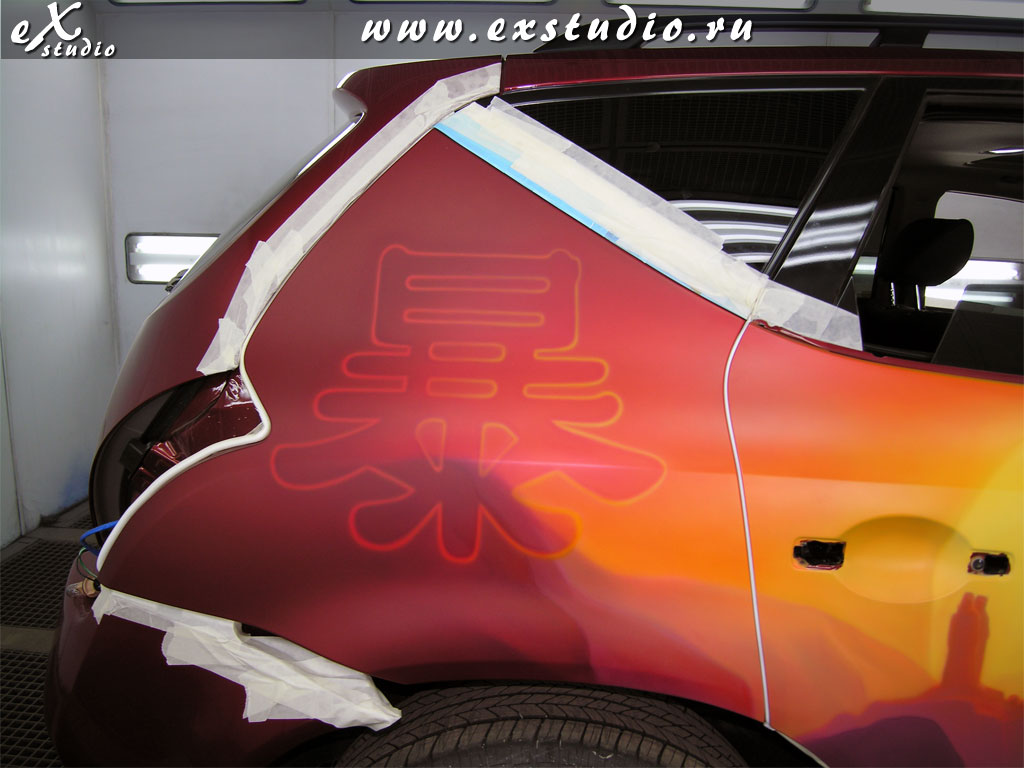
32. So this is what the finished product of our hieroglyph looks like. At this stage the artist is finished with the work, and all other operations with the car should be spent with highly skilled personnel. But for a complete understanding of all the processes of drawing aerography onto a car, I have decided to explain all the subsequent steps.
So, we should completely remove the protective slick and paper from the car, as they have collected a considerable amount of paint and dust. And we need to re-stick it with new materials one more time. Before applying the varnish to the image, the image should be free from any debris.
33. Process of pasting a motor vehicle before applying the varnish to the drawing.

34. There is a varnishing process. The car is completely stuck and the varnish will not get to where it is not needed. Once again I will repeat that all operations on pasting and varnishing should be performed by a highly skilled painter, as it is one of the most important of the final operations.
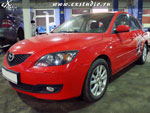
35. When the varnish is crystallized (in a painting chamber at a temperature of 60 degrees Celsius, the varnish "rises" for 60-90 minutes, and it must sit at a room temperature for about 12-15 hours). And later you need to assemble the rest of the car - handles, moldings, doors, bumpers, headlights etc. are attached.
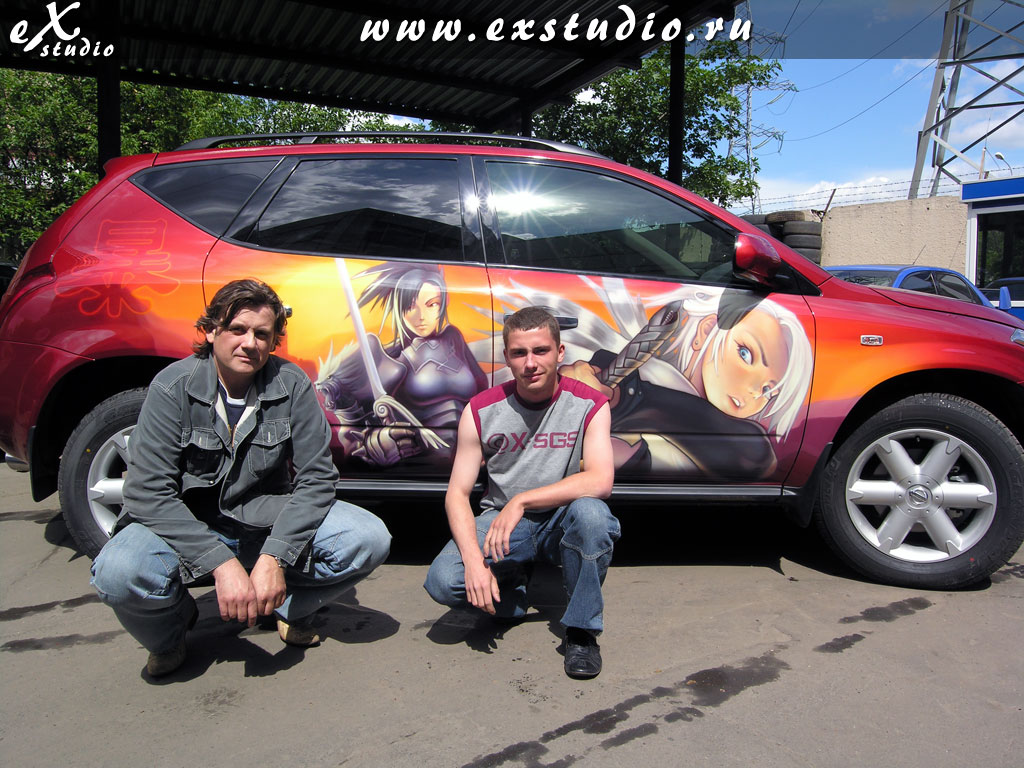
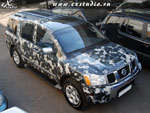
36. And certainly take a photo for memory.. For your endeavor: Alexander Beloborodov and Pavel Levin.
Car photos can be looked at here.
The artist: Paul Levin
The author of the lesson: Alexander Beloborodov